
How to Create Consistent AI Product Images
One product, three campaign scenes. Our team’s workflow for keeping the packaging recognizable while changing the view, light and background.
The brief: three scenes, one recognizable product
A campaign carousel can look polished and still sell the wrong item. The pump gets wider in one frame, the label moves in another, and the third suddenly looks like frosted glass. Our team starts by deciding what makes this product the same product before choosing a visual style. Creating consistent AI product images starts with a product identity you can inspect in every scene.
Use an amber skincare pump bottle as a working example: black pump, cylindrical amber body, ivory rectangular label and one bottle in each image. The deliverables are a clean store image, a warm bathroom scene and a pale-green campaign layout. Those are three settings for one identity, rather than three separate product designs.
Collect a straight-on photograph and a three-quarter photograph with compatible lighting. Keep an untouched copy of each. If the real label is important, include a separate high-resolution label file for the finishing stage. A photograph of the front does not explain the hidden back of a bottle; use a real rear reference when that view is required.
| Feature | Keep unchanged | Inspect in every scene |
|---|---|---|
| Bottle | Amber glass, cylindrical body | Width-to-height ratio and shoulder shape |
| Pump | Black head and short nozzle | Nozzle direction and neck attachment |
| Label | Ivory rectangle on front | Position, edges and final lettering |
| Scene | One product only | No duplicate bottle or invented accessory |
Choose the edit that matches the problem
Changing the setting, the light and the camera together makes a failure difficult to diagnose. We build the clean reference-led composition first, then branch into a scene change or a view change. Keep the accepted base image available rather than overwriting it with each experiment.
YouArt offers different operations for different jobs. Remove Background isolates the subject; Inpaint redraws a selected area; Change Angle creates another interpretation of the view. Start with the smallest operation that can solve the visible problem. If the bottle is correct and only a background object is wrong, replacing the whole product image creates unnecessary opportunities for drift.
| Your problem | First route to consider | Approval check |
|---|---|---|
| Distracting surroundings | Remove Background and a new layout | Product edges and transparent areas |
| Wrong camera view | Change Angle with a permitted reference | Previously hidden geometry |
| One unwanted object | Image Inpaint with a tight mask | The area just outside the mask |
| Only exposure or contrast | Image Adjuster | Label readability and material color |
Create a new angle without inventing a new bottle
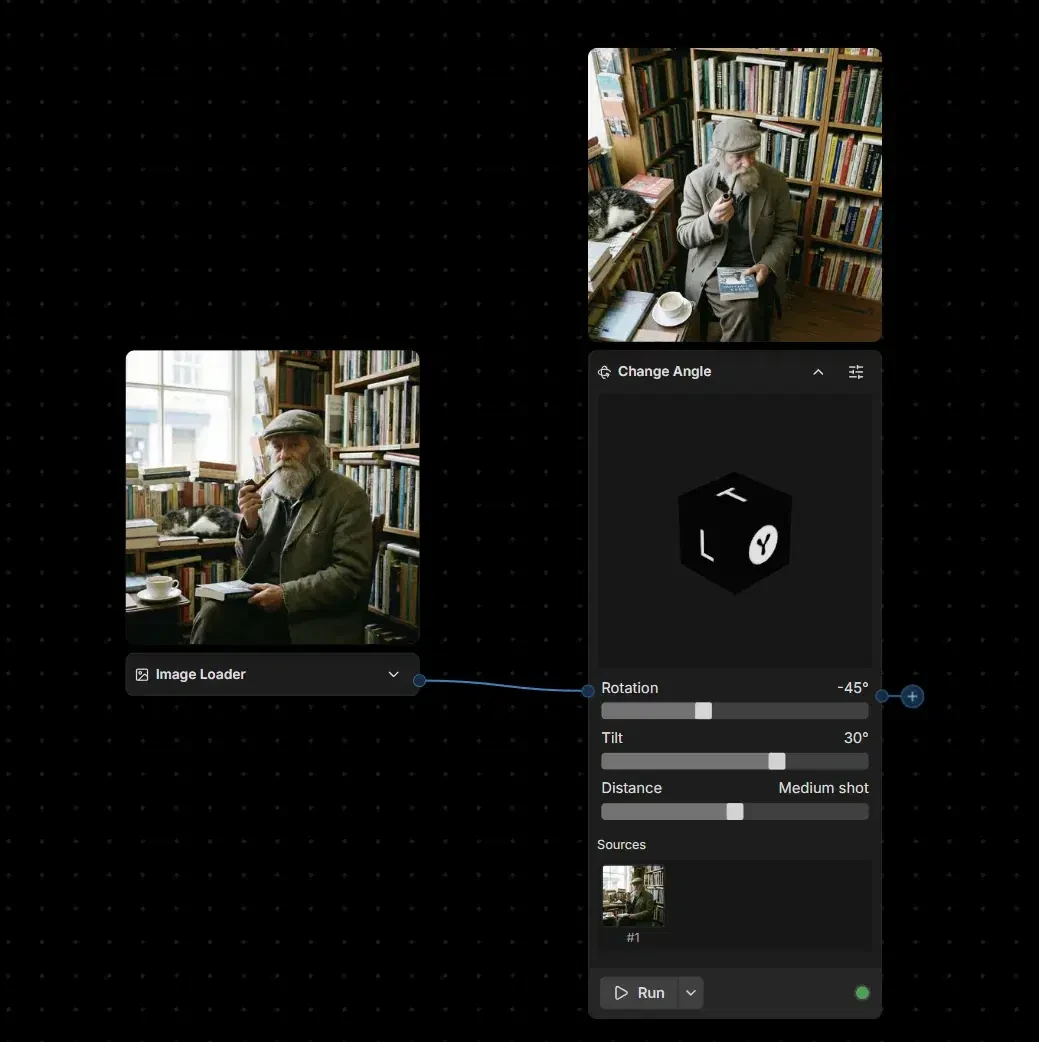
On the workflow canvas, connect the reference through an Image Loader to Change Angle. Its controls describe Rotation, Tilt and Distance. Begin with a modest three-quarter variation and keep the other settings stable. The standalone Camera Angle Changer uses the label Zoom for framing, so follow the controls in the interface you are using.
Check the relationship between the pump, the neck and the label before accepting the new view. An attractive invented side panel is still a different package. Where an unseen edge matters to a sale, compare against your second real photograph instead of treating the generated view as a measurement.
Make the background variation from an accepted reference, not from a chain of increasingly edited images. Repeatedly using the latest imperfect image can turn a small proportion error into the default for the entire series.
Choose between adding light and regenerating light
A darker product does not always need another generation. YouArt’s Photo Lighting Editor applies lighting effects to the existing image on your device. AI Relight generates a new version using direction, elevation, brightness, temperature and diffusion. Our team uses that distinction to decide how much of an already-correct package to put back through generation.
For a gentle warm highlight on a correct bottle, start with a restrained adjustment. If the existing hard shadow needs a genuinely different lighting setup, AI Relight is the more relevant route. Inspect the pump edges and label afterwards: a change in illumination can also change fine details in a regenerated result.
Keep the neutral store image as your color reference. A warm bathroom mood can be appropriate, but it should not make the amber glass look like a different variant. Compare the series under one screen setting and at the same display size.
Repair one detail with a controlled revision
When the setting works but a background prop fails, open the image editor’s Inpaint tab and mask that prop. Keep the mask away from the pump and label where possible. Complete the mask, then describe the replacement narrowly. Inspect the seam around the edited area as well as the replacement itself.
Use the prompt below for the scene branch. The preservation instructions belong beside the reference input, while the room, surface and composition belong in the change request. Exact brand lettering can be applied in your final layout using the approved label file.
Skincare scene variation
Use the connected amber pump-bottle reference as the product identity. Keep its cylindrical amber body, black pump, short nozzle, proportions and front ivory label placement. Change only the setting to a quiet pale-green bathroom shelf with soft side light. Show one bottle, fully visible, with space on the right for final copy. Do not add another container, change the packaging shape or invent label wording.
Approve the set in the layouts customers will see
Put the three candidates together in store, carousel and banner crops. Compare the silhouette first, then the label position, material and object count. The smallest social thumbnail can hide a defect that becomes obvious on a product page.
Reject a variant that changes the item even when it has the strongest atmosphere. Keep the successful scene direction and revise the affected product area from the approved reference. Record whether each rejection was caused by identity, composition or finishing; that tells you which stage needs attention next time.
Save the accepted reference, scene prompt and final label artwork together. A reusable product workflow is a set of reliable inputs and decisions. Once those are stable, the image can become a video first frame without carrying an unresolved packaging problem into motion. Keep that approved base with the brief for the next set of consistent AI product images.
Animate an approved product image →Plan the accepted-shot budget →
Frequently asked questions
How many reference images should I use?
Use enough to explain the product clearly, without adding conflicting views. Start with one strong main image and add a supporting angle when the selected workflow allows it and the shape needs clarification.
Why does the same product change between images?
A new scene, angle or lighting request can change how the model interprets the subject. Keep the product description and permitted references fixed, then revise one variable at a time.
Can I generate exact packaging text?
Inspect any generated lettering carefully. For precise packaging or sales copy, finish the text in a conventional design tool using the approved wording.
Should I use the prettiest image in the series?
Choose an image that satisfies the product requirements first. An attractive scene is not a useful listing image when it changes the item being sold.
Can I reuse the images in a video?
Use an approved image as the reference where the selected video route supports it. Review the whole clip to confirm that the product remains recognizable after motion is introduced.