
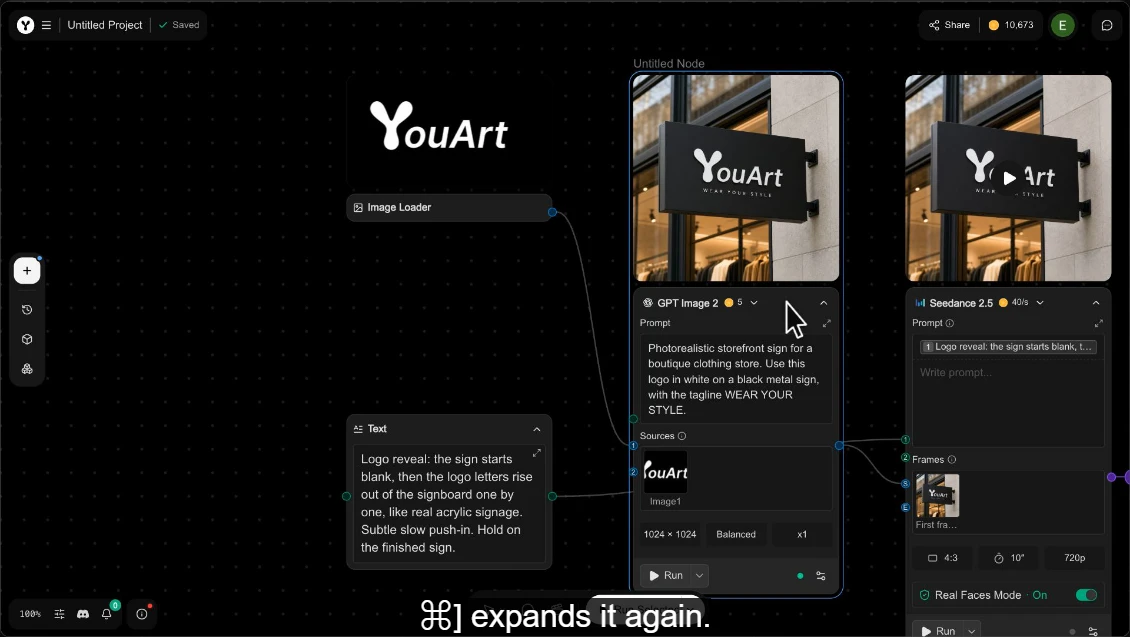
Your First YouArt Workflow: Connect an Image to a Video
Build the reference → image → video path. Learn which input each connection supplies, then keep the accepted stages for your next project.
Read the guideOur YouArt AI tutorials help you finish a stronger product image, a coherent ad, a recognizable character or a video ready to deliver.
Build the reference → image → video path. Learn which input each connection supplies, then keep the accepted stages for your next project.
Read the guide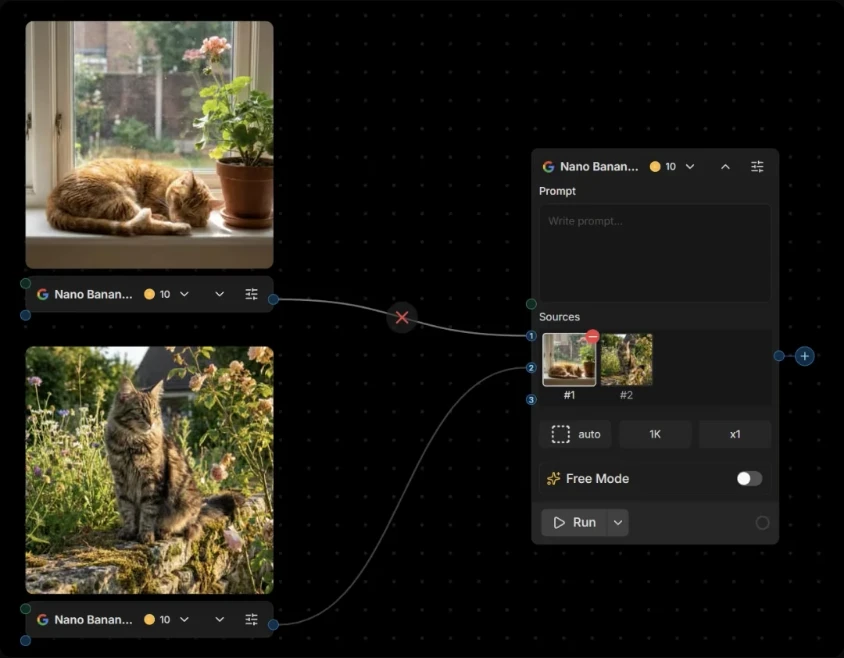
Separate the product reference from the scene direction. Set composition, lighting and empty space, then revise one requirement at a time.
Read the guide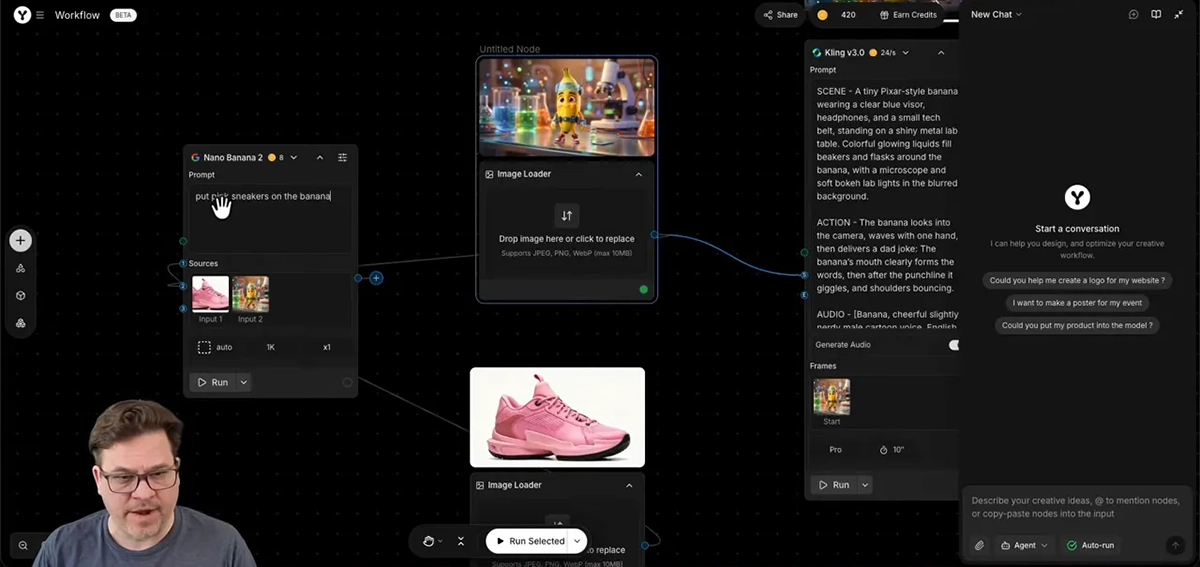
Connect the first frame, choose one camera move and keep the subject stable. Check the middle and ending before accepting the clip.
Read the guide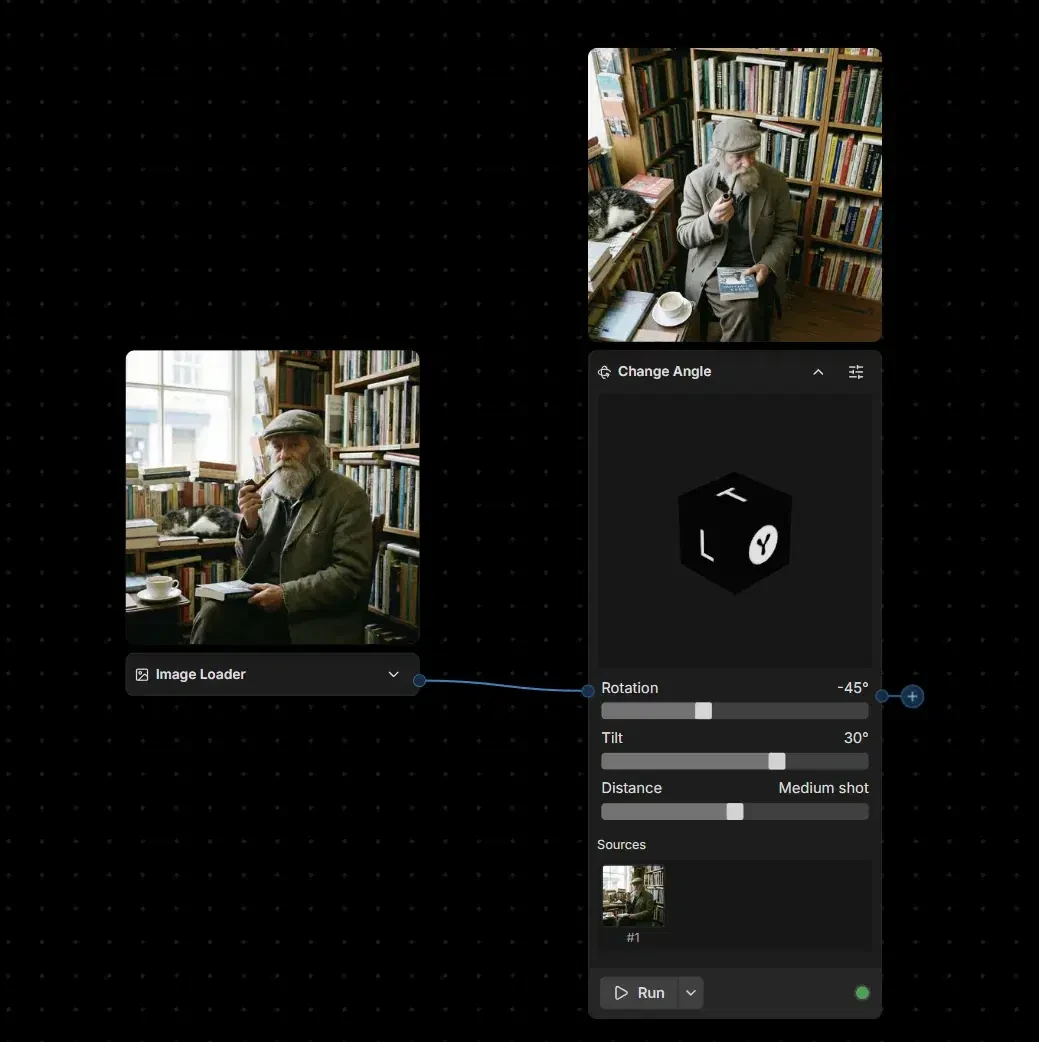
Choose between Change Angle, Inpaint and lighting edits. Protect the bottle shape and label while building three related campaign images.
Read the guide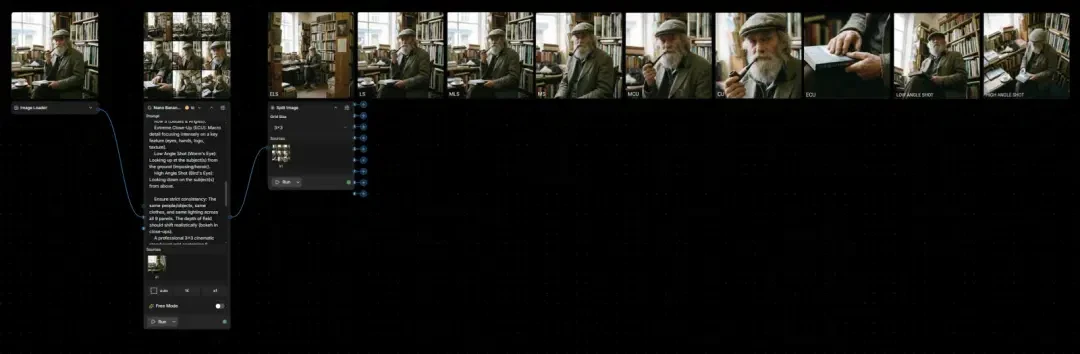
Plan a texture hook, product reveal and closing hold. Split a storyboard into usable frames and give each motion branch its own brief.
Read the guide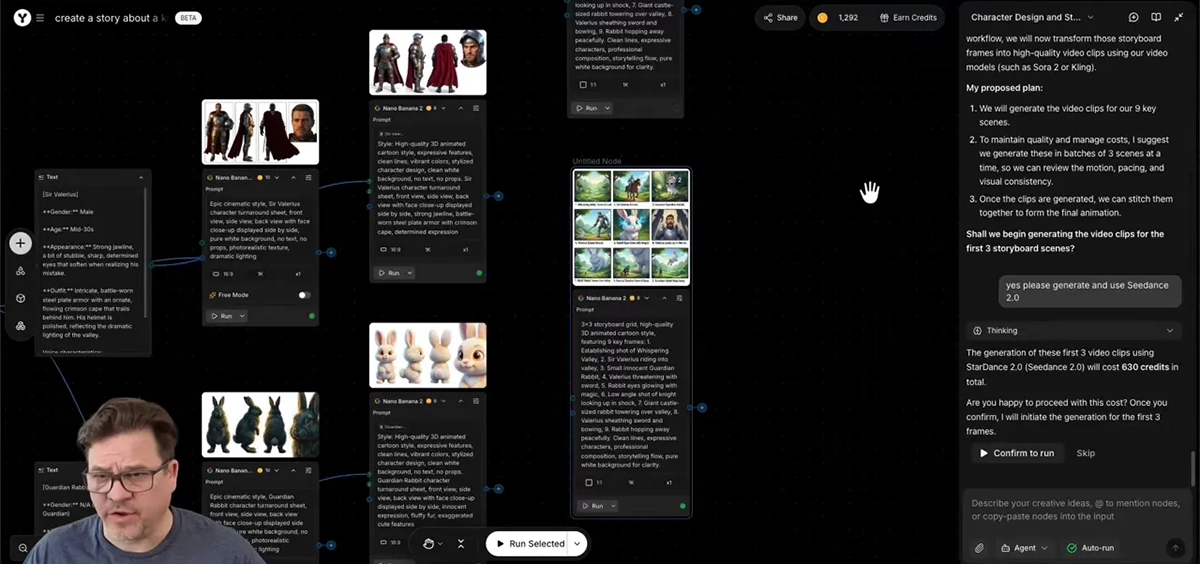
Lock the face, outfit and markings before changing the action. Diagnose mirrored details and identity drift across three connected scenes.
Read the guide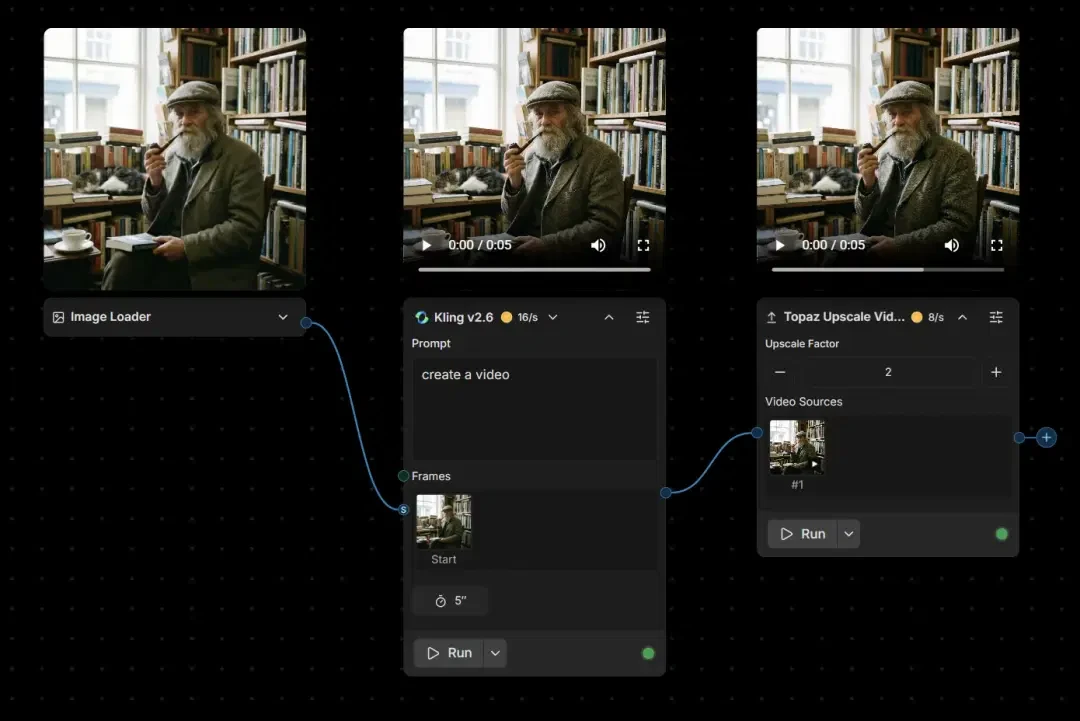
Regenerate a warped subject, trim a weak ending or upscale a correct clip? Use a defect-to-fix table, then check captions and compression.
Read the guide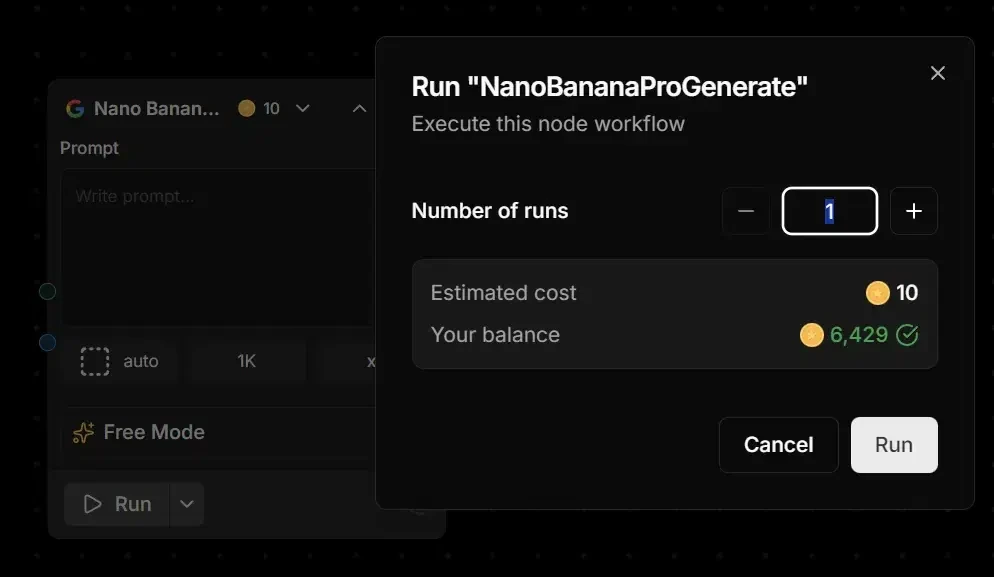
Read the run estimate, track rejected attempts and calculate usage per accepted asset. Keep monthly allowances separate from purchased credits.
Read the guide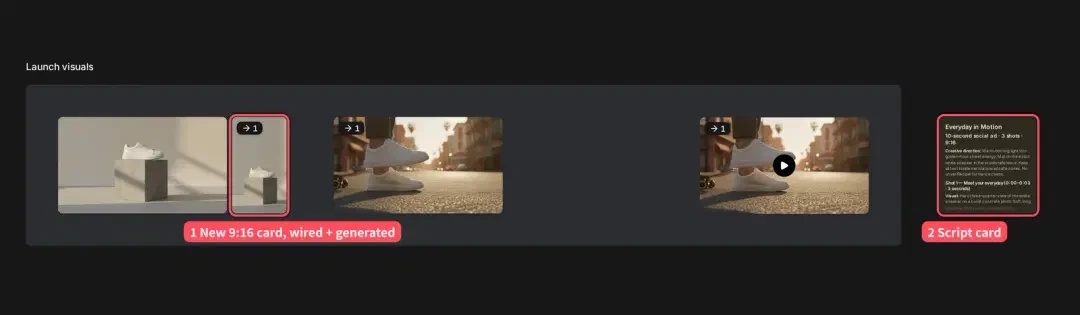
Connect reference assets, image creation and video work on one canvas. Decide which stages to reuse and which controls to inspect.
Read the guideStart these YouArt AI tutorials with the task in front of you. A new product concept, a connected ad and a final delivery need different decisions. Choose the guide that resolves the current stage, then carry its accepted reference or shot into the next one. You do not need to repeat the entire workflow when one part of the project changes.
Begin with the image brief when composition and lighting are still open. Use the consistency guide when the item is already defined and you need related scenes that preserve its packaging. A reference image explains the product; a scene direction explains where it appears. Keep those roles separate. Once the product is recognizable and the layout has room for copy, use the approved image as the starting point for a short motion treatment. Build the product series →
Choose the storyboard guide before requesting several videos. Give the opening, product moment and closing hold different jobs so the sequence adds information. For a character story, prepare the identity pack first: compatible views, stable clothing and the markings that must survive a turn. Approve each still before adding movement. The goal is a set of shots that belongs together, with a clear place to revise the weak part. Plan the three shot roles →
Use the video quality guide to distinguish a content defect from a finishing problem. A changing product needs a revised shot; a weak ending may need a trim; a correct small clip may benefit from upscaling. Review captions, sound and the final crop after the creative content is approved. Then open the saved file outside the workspace. You are checking the asset the audience will receive, rather than the best frame in a generation preview. Choose the right finishing step →
Read the credit guide alongside the record of your own project. Count rejected attempts and further processing with the outputs you keep. A monthly allowance covers operations, not a universal number of finished assets. Keep a clear brief, the accepted inputs and a short revision log so the next purchase reflects recurring work. Our YouArt AI tutorials connect those creative and budget decisions: learn one path, understand what it needs and reuse the parts that help the next brief. Budget around accepted work →
Keep a small project record as you follow a guide: the reference you chose, the accepted image or clip, and the reason for each revision. That record makes the next tutorial more useful. You can carry a clear decision forward instead of repeating experiments or rebuilding a creative stage that already meets the brief.