
AI Product Ad Storyboard: Plan Three Connected Shots
Build a headphone ad with three distinct shot jobs: a texture hook, a recognizable product reveal and a closing frame with room to act.
Start with a message you can show
An AI product ad storyboard becomes repetitive when every clip is the same orbit around the same object. Our team gives each shot a different job before opening the video model. For a fictional headphone launch, the story is tactile design: a close detail attracts attention, a clear full view identifies the product, and a calm closing frame leaves room for the offer.
Use one approved headphone reference and an explicit product description: indigo earcups, padded headband, silver hinges and no invented controls. Avoid a claim about sound quality, noise cancellation or battery life unless your real product evidence supports it. The visuals can show a hinge; they cannot establish how the headphones sound.
Plan a vertical composition for this example. Leave enough space around the subject to crop a second version later, but choose the main destination first. A wide scene cut down to vertical often loses the very detail the opening was meant to show.
Write a shot list with a different task in every row
The sequence below is a planning example with a ten-second target, rather than a promised generation duration. Generate within the lengths available to your chosen route, then trim to the useful moments in your editor. The audience needs to understand the product, not watch every second a model returns.
Keep the light direction and surface consistent across the frames. Change the shot scale deliberately. This creates variety without asking the headphones to change shape, unfold themselves or acquire another component.
| Edit timing | Shot and motion | What earns approval |
|---|---|---|
| 0–2 seconds | Close hinge and cushion detail; gentle push-in | Material is clear and the hinge stays attached |
| 2–7 seconds | Three-quarter full product; short sideways camera move | Both earcups and the headband remain recognizable |
| 7–10 seconds | Wider stable product view; hold the frame | Room for final copy and no new object appears |
Prepare the storyboard before paying for motion
Create or select a still for each row, then place them side by side. If the headband thickness changes between the detail and the full view, fix the reference problem now. A consistent color grade will not hide a different product silhouette.
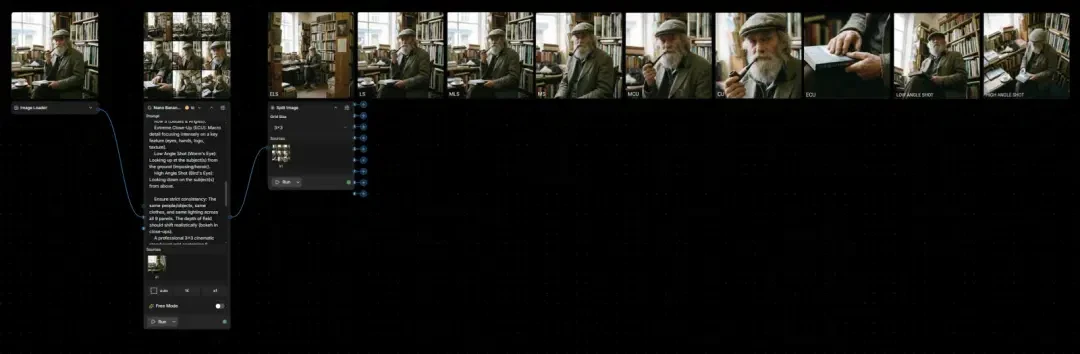
YouArt’s Split Image tool can separate a multi-grid storyboard into individual frame outputs. Match Grid Size to the actual sheet, then use the numbered output for the shot you intend to animate. Inspect the extracted frame before connecting it further; the split operation cannot correct a product that was drawn differently in the source grid.
For a first three-shot ad, separate still files are also a practical choice. A contact sheet is a planning aid, not a requirement to generate a large grid. Choose the arrangement that lets you identify and replace one shot clearly.
Connect each accepted still to its own video stage
Keep each image-to-video branch separate so a weak reveal can be retried without replacing the accepted opening. Connect the accepted image to the video operation’s image or first-frame input, then supply one motion instruction suited to that shot. Check the selected route’s duration, aspect ratio and usage estimate.
For the reveal, ask for a short lateral camera move across a stationary product. A moving camera and a rotating headband are different instructions. Adding both at once makes unwanted transformations harder to diagnose.
Use the brief below to establish the shot roles, then generate each shot with its own accepted still and motion direction. Do not feed the entire storyboard sheet as the opening frame unless the selected workflow explicitly supports that use.
Headphone ad shot-planning brief
Plan a vertical three-shot ad using the supplied indigo headphone reference. Preserve the padded headband, two indigo earcups and silver hinges. Shot A: close cushion-and-hinge detail, slow push-in. Shot B: complete three-quarter product view, short sideways camera move, product stationary. Shot C: wider stable composition with the headphones on the left and clean space for final copy. Keep the same pale-lavender surface and soft light from upper left. No product transformations, invented controls or generated sales text.
Choose a transition the product can survive
Cut from the detail to the full view after the opening has made its point. A simple cut is often cleaner than an elaborate morph that changes the headphones on the way through. Watch the hinge and earcup positions on both sides of the edit.
Keep the camera direction compatible between adjacent shots. If the reveal moves rightward, a sudden leftward sweep in the closing frame can feel like a reset. A stable final hold gives the message a deliberate landing point.
Add the actual offer, logo and call to action in the finishing stage. Check the final vertical layout on a phone: text must remain readable without covering the product. Keep sound and music permissions with the delivery files, and make sure the visual message still works when the viewer starts muted.
Revise the weak shot, then save the campaign structure
Log revisions by shot: A for the hook, B for the reveal and C for the closing hold. If B bends the headband, return to its approved still and simplify the movement. If C has no room for copy, fix the composition instead of paying for another version of the opening.
Save the shot list, reference, accepted stills and final clips with the same identifiers. That makes the ad easier to revise for a new offer or destination without confusing the approved product version. The AI product ad storyboard remains the common reference for the edit.
For recurring product work, this is where a connected workflow becomes useful: a shared reference and a visible branch for every shot. Our team would expand the sequence only after these three jobs work together. More shots should add information, not repeat the same product angle.
Check the finished ad before delivery →Choose the plan around the sequence →
Frequently asked questions
How long should each shot be?
Let the message and destination set the pace, then work within the duration available in the selected model. Keep enough time for the product to be understood without stretching a weak moment.
Should I generate the whole ad in one request?
A first project is easier to manage when each shot has a clear purpose and can be revised separately. You can assemble the accepted clips into one sequence afterwards.
What makes the three shots feel connected?
Use a shared product reference, a consistent light direction and a deliberate palette. Review the still frames together before adding movement.
Where should I add the final sales copy?
Use your finishing or design workflow for exact wording, logo placement and readable typography. Leave suitable space in the storyboard before generation.
Can this structure work for another product?
Yes. Keep the hook, product and closing-message roles, then adapt the references and shot directions to the real item and audience.