
Choose the shot before choosing the model
A useful short clip needs a subject, an action and a reason to move. For a product reveal, begin with a clear product image and one restrained camera movement. Complex crowds and several simultaneous actions make it harder to identify why a shot failed.
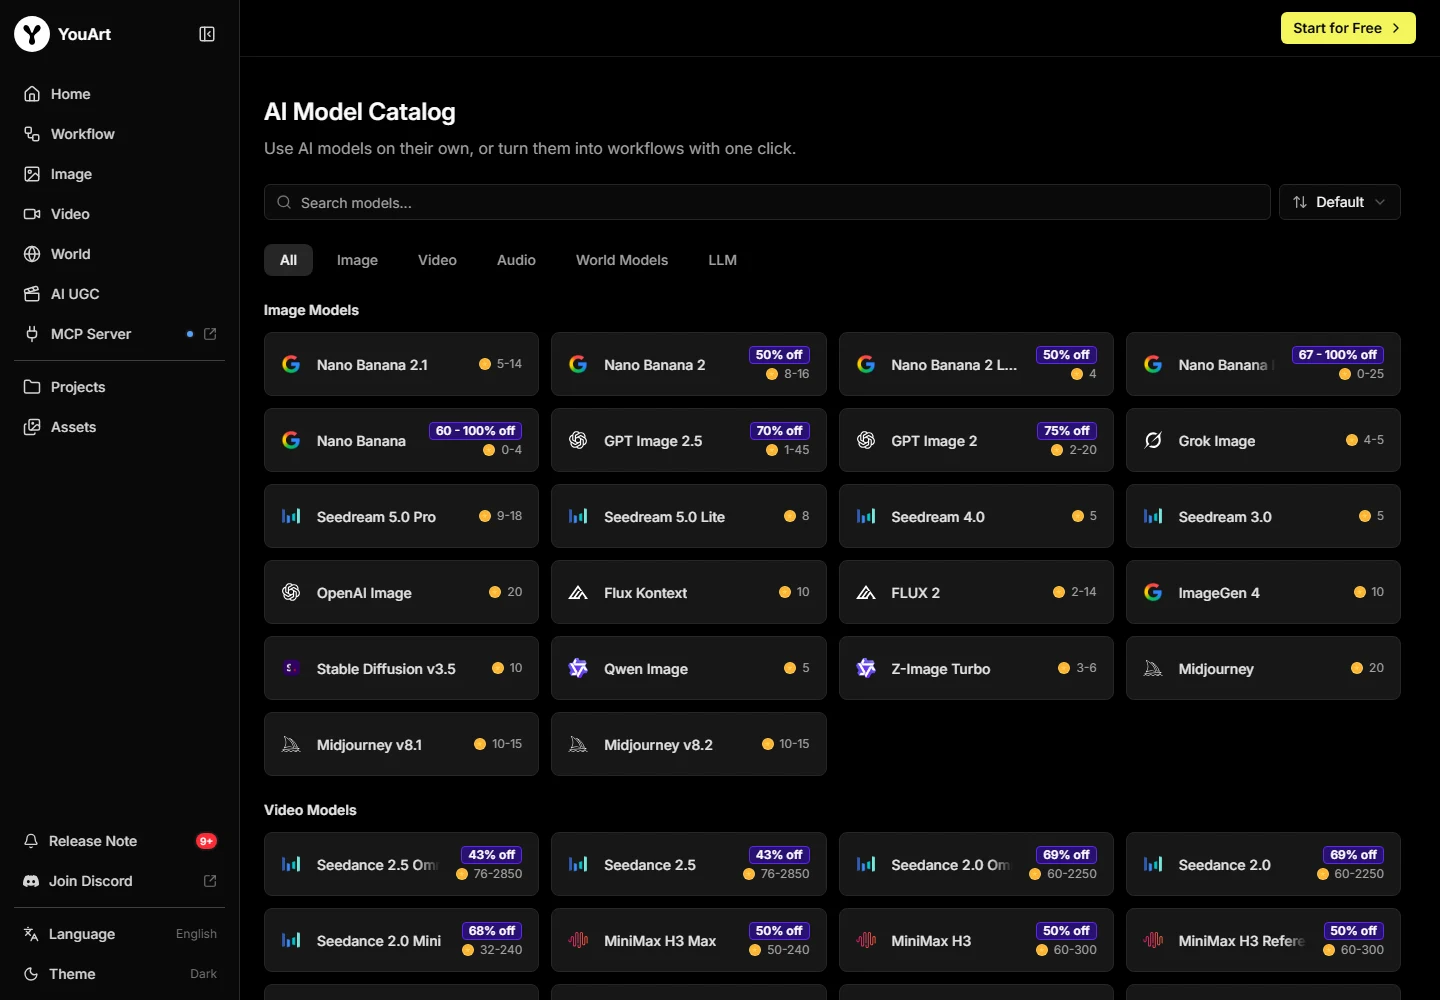
The YouArt catalog lists multiple video options. Compare the input controls, aspect ratio, duration and displayed usage in the workflow you select. Matching a model name across services does not establish matching parameters or entitlements.
Example workflow: a slow product reveal
Select the accepted product image as the starting reference where supported. Describe a slow push-in, a stable product silhouette and gentle background motion. Avoid asking the product itself to transform unless that change is the point of the shot.
Review the operation estimate, then generate a small first attempt. Keep the exact prompt and settings with the full clip. Change one motion instruction at a time instead of repeatedly adding new actions.
Inspect the whole clip, including the ending
Watch once at normal speed and again while checking the important details. Look for a changed label, an extra object, a drifting handle or an abrupt cut. A strong first frame can hide a less stable middle or final frame.
For a campaign, view the clip in the actual layout. Leave room for captions and a call to action without covering the product. Check audio separately when the selected workflow supplies it; a silent demonstration should not be taken as proof of native audio.
Budget for motion revisions
Video attempts can involve different usage charges from images and agent actions. Count rejected clips and additional processing in the project total. A low subscription price does not establish a low cost per accepted finished video.
Creator commentary can show how a workflow is organized, but selected examples and speed claims do not tell you the average effort required. Use a manageable shot to find the practical revision budget for your own campaign.
Compare the native Kling route →Estimate the subscription commitment →
Keep a finishing workflow
Open the accepted export in your editing application, check playback and confirm the format required by the destination. Add exact copy, legal text and final sound treatment there if the generated output does not cover those requirements.
A connected AI workspace can simplify handoffs while a conventional editor remains useful for a dependable final cut. Judge the complete delivery rather than the most impressive moment in a demo.
Separate camera motion from subject action
In a YouArt AI video generator brief, a camera push-in and a product rotation are different requests. Start with one. A stationary cup with a gentle push-in gives the viewer a clear reveal while leaving fewer moving relationships to inspect. A rotating product asks the model to describe surfaces that may not be visible in the starting image.
Choose the movement because it supports the message. A detail-led shot may need only a small camera move; a closing offer frame may need a stable hold. Do not add dramatic motion merely because it is available. Keep the accepted image and product description beside the motion request, and review the selected route’s duration and estimate.
Decide whether the next step is a new clip or a finishing edit
A subject that changes shape needs attention in the source or motion stage. A useful clip with an awkward last moment may need a trim. A correct but small file may be ready for an upscaling route. Choose the next operation from the actual defect, rather than treating every problem as a reason to start again.
Save a master before adding final captions or compression. Open the delivery file outside the workspace and check its crop, sound and playback. Our YouArt AI video generator approach is to approve the complete shot, not only the opening thumbnail. Extend the sequence only after the subject and movement satisfy the brief.
Try an example creative brief
Turn an image into a video
Choose an accepted image → set one motion → check available controls → inspect the entire clip.
Watch for changed silhouettes, drifting labels and an unstable ending.
Turn an image into a video
Use the selected ceramic-cup image as the visual reference. Slow, steady camera push-in. Keep the cup shape, handle and surface unchanged. Gentle background light movement. No cuts, no new objects and no added text.
Frequently asked questions
Can YouArt turn an image into a video?
YouArt documents image-to-video workflows. Select an available model and inspect its supported reference controls and settings.
Which video model is best?
The answer depends on the shot, motion, references, access and budget. Compare the same brief before choosing a model for recurring work.
Does every video include audio?
Do not assume that. Audio behavior depends on the selected model and workflow; inspect the actual output and controls.
How long can a clip be?
Check the duration offered by the particular model and workflow. A capability advertised by a model provider may differ from the operation exposed in another service.
How do I reduce wasted attempts?
Start with one subject and one motion, retain the accepted reference image and revise only the defect you can identify in the current clip.